Project Fail! Picture Frame Garden Markers
Sometimes great ideas come to me that turn into neat projects that I share with you, and other times great ideas come to me that turn out to be complete fails and they never get shared.
Just today, I was going through my picture files, and I came across this project that I did last spring, but never shared it with you. This project could have been genius, but it didn't work out so great in the end. Because I still think this is a cool idea, I wanted to share it with you anyway, and maybe, just maybe, you can come up with a new solution on how it can work out better. I'll share what went wrong and the rest is up to you.
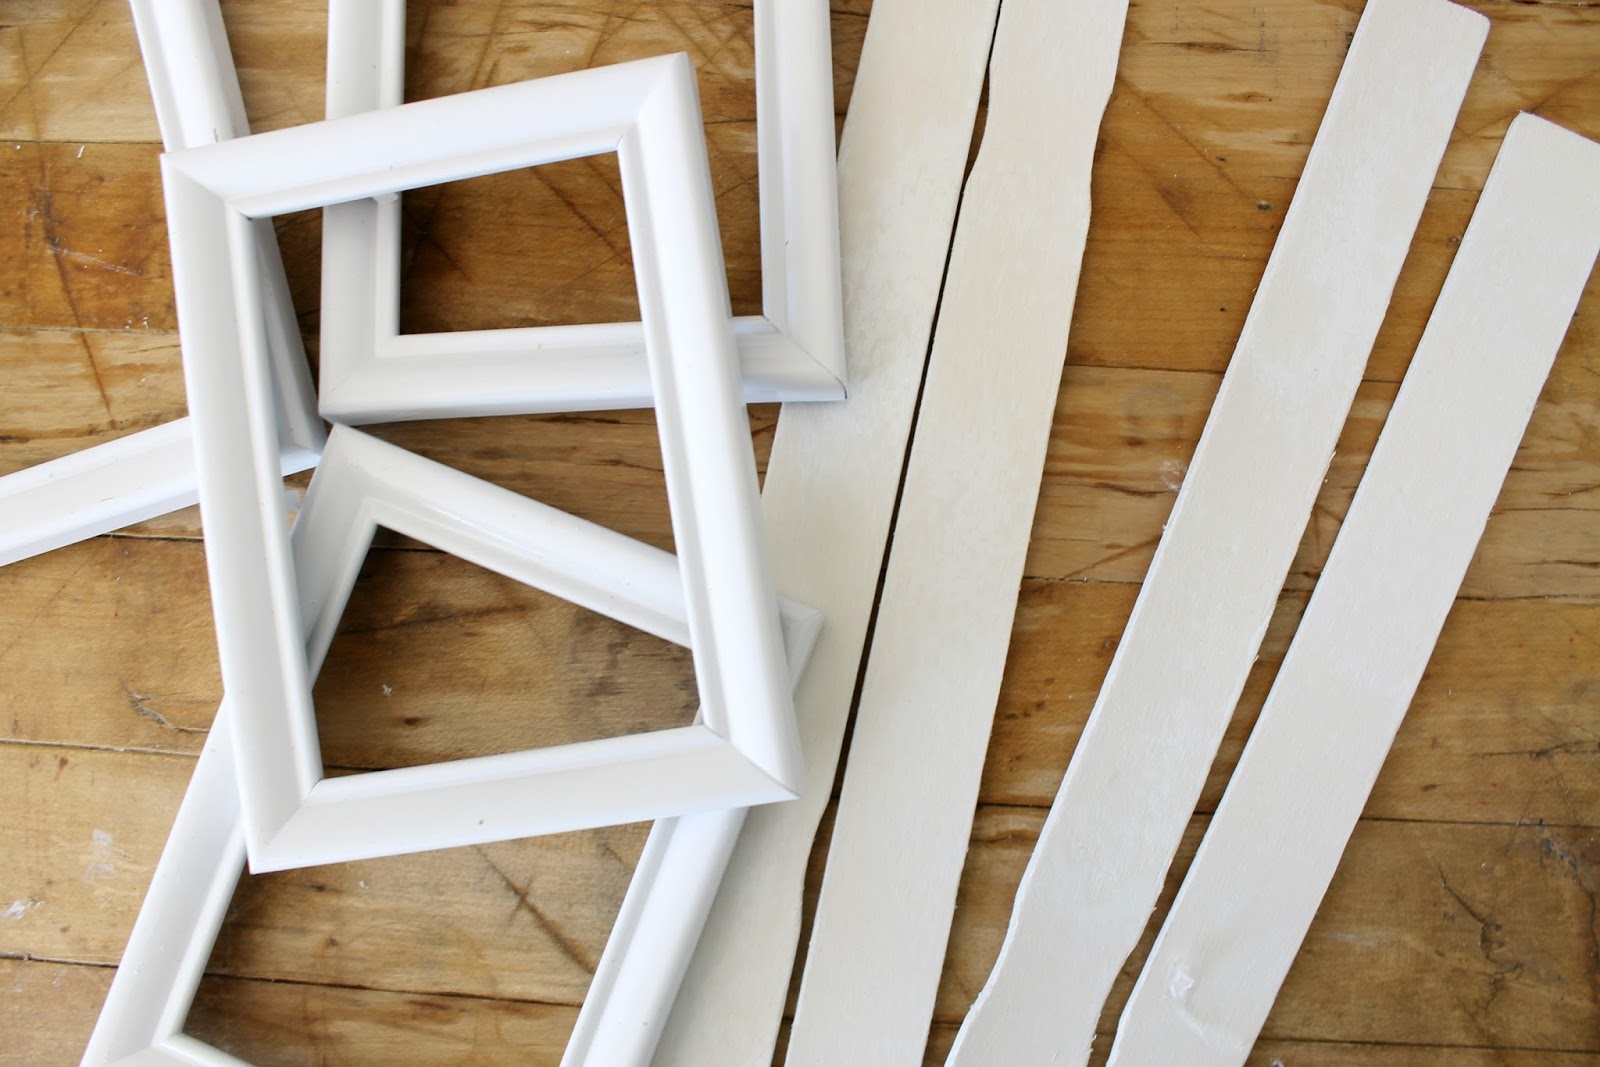
Okay, so for this project, I started out with four 3.5 X 5 picture frames from the Dollar store, and four paint stir sticks.
I removed the glass and backs of the frames, and painted the frames and sticks in a white spay paint.
Once the paint was dried, I hot glued the glass back into place. I also ran the hot glue all around the edges of the glass to seal it.
At the Dollar store, I also picked up four packets of seeds. I removed the seeds from the packages and set them aside to be planted. I turned the photo paper that's included in the frame over and taped my seed packet to it.
I placed the paper back into the frame, added the wood backing and clipped it into place with the metal brackets. Next, I removed the cardboard stand and hot glued the stir stick to the center.
To finish it off, I took white duct tape and covered the whole back of the frame with it.
I made four of these garden markers and I thought they turned out really cute. I was excited to place them out in the garden to remind me what I had planted.
I took them outside and poked them into the dirt.
These markers really added a pop of color and charm to my garden.
I was so excited to share this project with you because these were so simple and inexpensive to make. This could have been a great idea for a garden club or even something fun for the kids to put together.
BUT THEN . . . . . .
It Rained!
And my Garden Markers were Ruined!
I was actually really surprised that the packets got wet since I sealed the glass good with the hot glue, and I sealed the back side with the duct tape. But Nope! Not good enough.
So these markers got made into a different project, and these pictures got left into my "fail file" until today.
So now that I've shared this idea with You, Do you have any ideas on how it could have worked out better? Are you wanting to give it a try?
If so, I'm handing this idea over to you. It's yours!
Good Luck!
Emily


Comments
Post a Comment